Friday, January 30, 2015

Tanzer 16 - Moving the Halyards Back Into the Cockpit.

Tanzer 16 - Moving the Halyards Back Into the Cockpit  --  January 30, 2014 -- Continuing to work on our list little improvements before next racing season, and, what luck!  We got an unseasonably sunny warm day to move the halyards down into the cockpit.

(I couldn't leave the mast hinge two or three degrees off line so I removed the top plug and hinge.  Then ran a string from the bow to the center of the transom.  Then I reinstalled the plug with the hinge parallel to the centerline string.  Expoxy held the assembly in place while I went to West Marine and picked up some #12 SS screws.  When the expoxy set, the screws secured the plug in place.  That's the method I would use if I had to do this again.  It doen't matter how careful you are in the shop--final fitting has to happen on the boat.)

Started by re-installing the turning blocks that came with mast--the one we bought down in Vancouver, WA. Finally, after 50 years of buying tools, picked up a pop rivet gun from Home Depot.  Twenty bucks well spent.

While we were at it we reinstalled the boom vang
attachment point.


Then we drilled some holes in the king post brace to allow the halyards thru the deck and down to the turning blocks.  Picked up some fancy bushings but they were too big so we will just chamfer and polish the wood to minimize the damage to the line.

These holes are for the halyards, we put three forward
of the mast for the spinnaker topping lift, the spinnaker
halyard, and the spinnaker pole down haul - to be
installed at a later date.  Even though the hinge looks
crooked in this picture, it has been trued up to the
center line.


Finally we installed some cleats and a winch on the cap of the centerboard trunk.  The halyards will pass under the pedestal for the snubbing winch and into cam cleats.  We will tension the halyards with a small winch and then tie them off on regular cleats.  When we add the spinnaker's running rigging, the cleats will go under the thwart.

We will need to do something new with the center-
board lifting mechanism, but I haven't figured that out
yet.


Next item:  Finish the upgrade on the traveler--when Fisheries Supply sends us the special little shackles we need.  And we have an idea to secure the locking tensioners for the shrouds.  Still waiting for the new Genoa.  No painting this year--we still have some deck installations to do including fabricating our own spinnaker launching chute.


Tuesday, January 27, 2015

Update on Tanzer Overnighter Refurb by Jon

Update on Tanzer Overnighter Refurb by Jon  -- January 27, 2015  Back in August and October last year we heard from Jon who bought a Tanzer Overnighter that had some hull problems.


Just received the following email and pictures from Jon.  Jon is located in St. Petersburg, Florida.  Lucky Jon.

I finally got around to doing some glass work. Everything is still rough and still needs to be smoothed out. Now that it floats I couldn't resist taking it out. Once I had the sails up in the sun I could see a old set of numbers on them. The sails I have were from hull 138. Average guess of age is from 1965.


Tuesday, January 20, 2015

Tanzer 16 -- Hinged Mast Retro-fit -- Part 11

Tanzer 16 -- Hinged Mast Retro-fit -- Part 11 --  Mast Crutch 3rd Iteration -- January 20, 2014  So you are never really done with a project.  Based on yesterday's experience raising the mast, we decided the crutch could be better.  This is the third version.

The mouth of the crutch is now wider. With more room,  it's easier to roll the mast over before it is pinned to the hinge.  That way all of the shrouds, forestays, and temporary shrouds can be loosely put in place before the mast is raised--thus avoiding the situation where you are untangling spaghetti dangling 20 feet over your head.  This version is "much more gooder".  The cructch is about 6 1/2 feet long.

First the old crotch had to be removed--naturally
it was glued and screwed in place.


The new one is quite a bit wider and made out of 3/4 plywood instead
of 1/2.


Then everything was put back together with glue and stainless screws.


Monday, January 19, 2015

Tanzer 16, Hinged Mast Step Works--No sweat raising mast single handed

Part 10, Tanzer 16, Hinged Mast Step Works--No sweat raising mast single handed -- January 19, 2015 -- We have been working on this since September, and, happily, all the work was worth it.  We raised the mast today using the the hinged mast step. It was a breeze.  There were two of us, but the job can easily be done by one person.  (This is the last post in a long series.  For futher details look at old posts or the mast raising page.)

Pulled the boat out and left it the trailer attached to the truck.  We put the crutch in place and got ready to move the mast into position.  Discovered a minor screw up on my part.  The boom topping lift hardware was installed backwards.  it took ten minutes to fix that.


Error made and unmade.


Next we moved the mast into position on the crutch.  I didn't know for sure that it would balance in such a way that it stayed in the boat, but it did.  Now we no longer need to haul a ladder to the boat launch.  We did discover that the crotch at the top of the crutch was too tight.  I will make a new one in the shop.

It was easy to lift the mast into position.


With the mast in position the next step was to fasten the back parts of the mast hinge and the king post hinge together.

The forward pin needs to be removed--don't lose it.  Then fasten the aft pin
in place.


From this point on every part of the mast raising experience is way easier than it used to be.  The bottom of the mast is now locked in place and won't move around.  Next put the A-frame gin pole in place.  If you look at the pictures, you will notice that some eye bolts and snaps have been added to the A-frame.  These are to hold the shrouds so they don't become fouled as you raise the mast.  There is a similar eye bolt at the apex of the A-frame to hold the forestay.


With the shrouds and forestay out of the way, the jib halyard is secured to the apex of the A-frame, and secured to the halyard cleat.  Then the temporary guys are attached to the main halyard and hauled 2/3 of the way up the mast.  The lower ends of the temporary halyards come down through fairleads and are secured to deck cleats.

The fairleads are in line with the mast step.  In this location the triangle  of
the shrouds stays the same the whole time the mast is being raised so the
temporary shrouds do not need to be adjusted as the mast goes up.


With all this set up you can attach the trailer winch line to the apex of the A-frame and start cranking the mast up.  No fuss.  No drama.  Just make sure nothing is tangled.


In this picture the mast is up and pinned.  The shrouds are in place and the
temporary shrouds have not yet been removed.  The mast appears to be
pitched forward a little, but when we put weight on the main halyard, like a
sail, alignment was near perfect.


When the mast is up, pin the forward part of the hinge.  You can now attach the forestay.  Then remove the A-frame from the chain plates and hook up the shrouds.  Now lower the main halyard and the temporary stays, and you are ready to rig the boat.  The whole job takes less than 15 minutes.  Most importantly, there is never a moment when you feel like things are out of control and wonder if the mast is going to come crashing down.

Problems?  Only two.  In the fabrication of the mast step on the keelson and the addition of the hinge, we raised the height of the mast by about an inch.  As you would expect the shrouds were about an inch and a half (1 1/2") short.  Today we used some spare shackles as extenders.  I have already ordered longer extender plates for the new set-up.  In fact this will be better since they are the kind that snap into place.

Other problem--with everything finally up in place, we noticed that the mast was slightly twisted--maybe three degrees.  We believe this won't matter.  But---if it seems to point higher on one tack than the other, we will remove the plugs and make an adjustment.

Next test.  See if the thing actually holds together with 20-knot winds.  Coming soon--we are going to shoot a video of the whole mast raising process.

Sunday, December 28, 2014

Tanzer 16 -- Spinnaker Launching Chute

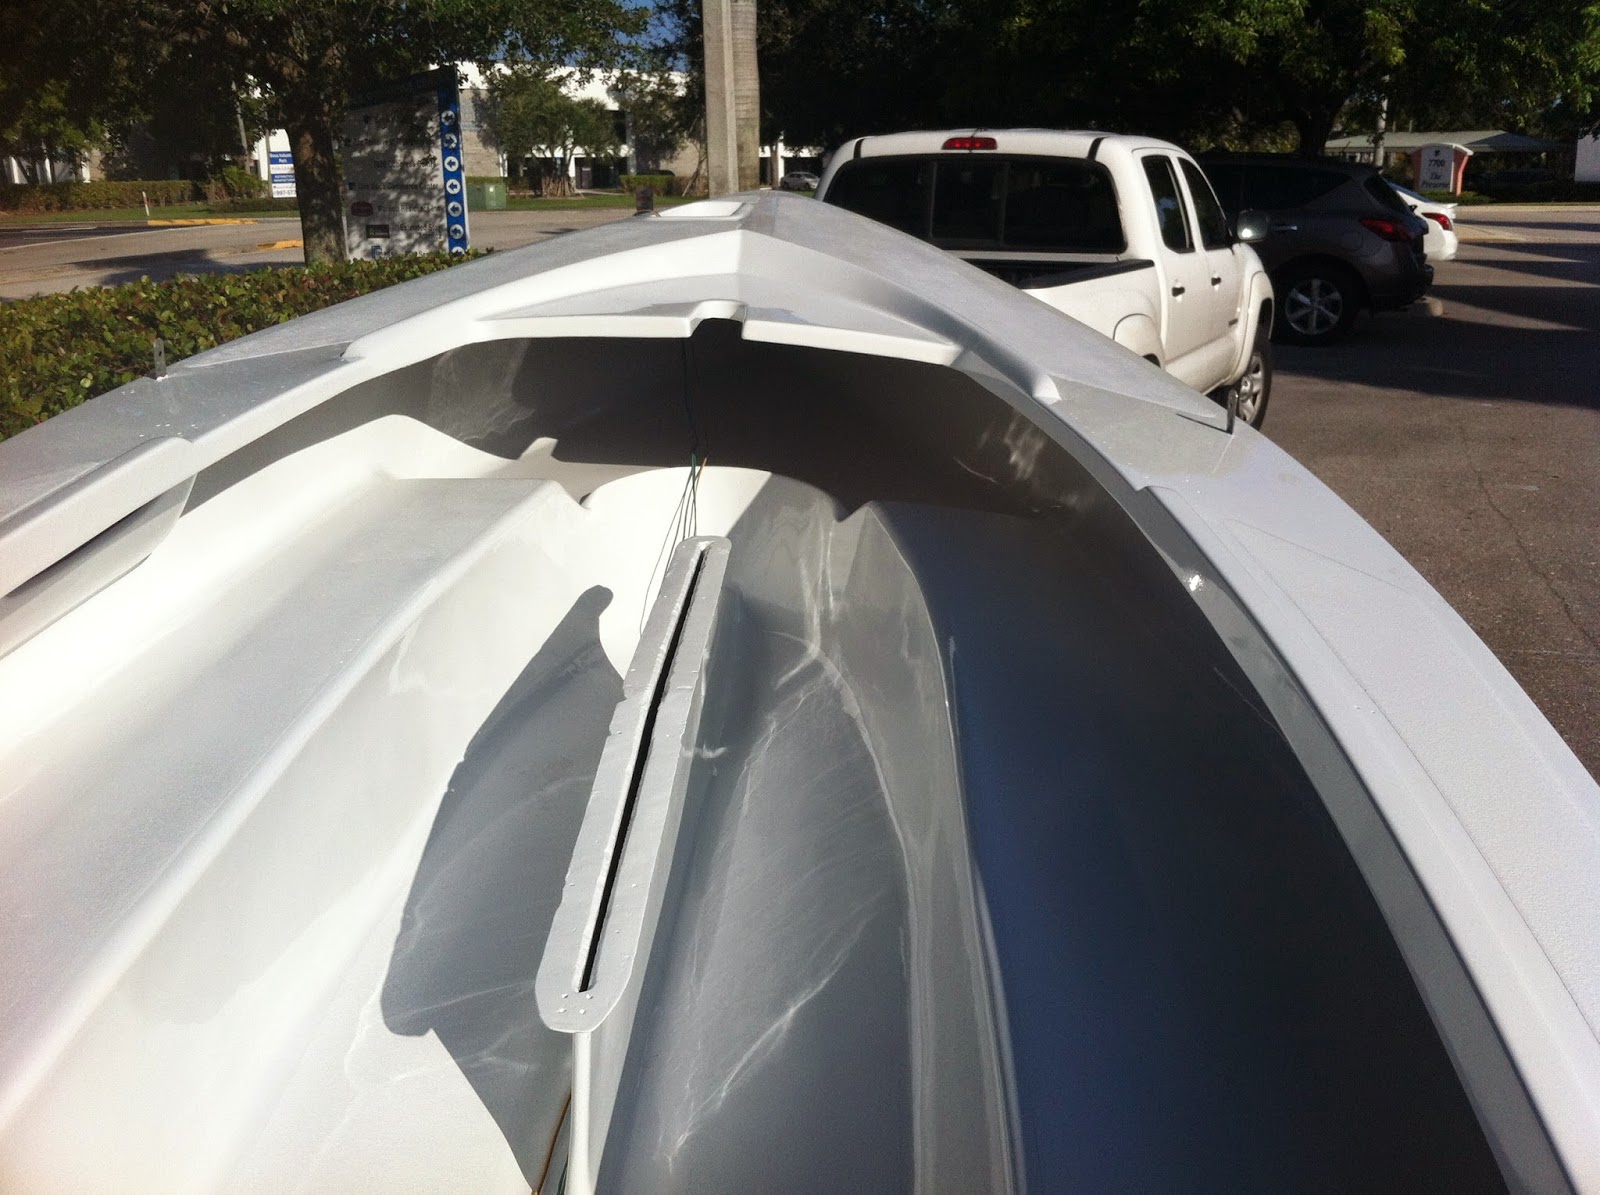
Tanzer 16 -- Spinnaker Launching Chute --December 28, 2014 -- Getting ready to paint the deck this winter and decided that it would be nice to include a spinnaker launching chute in the deck before it gets painted.  The inspiration came from Brian Mrachek.  His set-up looks like this.


He has roller furling on the jib.  This looked liked a handy way to deal with the spinnaker in a small boat.  Problem:  I can't find a source for the chute to install in the deck.  After a lot of time on the Internet, I found a supplier in UK.  

Any ideas would be appreciated.  I am not wanting to install the chute after painting.

jim


Sunday, December 14, 2014

Tanzer 16 - Another Great Refurb,

Tanzer 16 - Another Great Refurb -- December 14, 2014 -- Brian Mrachek from Florida picked up a wreck of a boat, #1460, and did a complete refurb.  When you see something like this you just want to go out and find a crappy old boat and turn it into something special the way Brian did.  The whole thing is so nicely done that we will post a few pictures here and give Brian his own page so you can see how the  the progress.  Brian is also the guy who took his boat out on a 70-mile open water race.  Great job Brian!

PS:  As soon as we get a little warm weather, I will pull 1306 out into the driveway and try out the hinged mast, gin pole raising system.  It should be just about ready--of course there will be some problems we did not anticipate.  jim

Pretty much a train wreck when he brought it home.


After cutting away bad material along the bunks, he glassed that in.
Then he painted the inside and the deck.


Then he flipped it over and painted the hull.


After more than a few months and more than a few
dollars, Brian had himself a better than new boat.
Note the roller furling for the jib.  See Brian's page to
look at the spinnaker launching system.

Monday, October 27, 2014

Tanzer 16 -- 70-mile open water race

Tanzer 16 -- 70-mile open water race, October 17, 2014 -- Here's an email you don't get just everyday.  Brian in South Florida is working on Tanzer #1460 built in 1980.  He casually mentions that he and his boat participated in, "...A 70 mi open water race last year but had to greatly improvise..."  Would love to more about that.  He is having the mast and boom painted.  I hope Brian will send us some pictures.  jim